Hi Stampers,
Time for another Glitter Queen Blog Hop. With the holidays vastly approaching our theme for this month is Home for the Holidays. The first card that I designed was for Thanksgiving. To remind me of all the things that I am thankful for in my life.

I used the Painted Harvest stamp set to create this card.
The ingredients for this card are as follows:
-
Card Base is Whisper White cut at 8 1/2 x 5 1/2, scored at 4 1/4.
-
3 layers of Whisper White are cut at 5 1/4 x 4, 4 3/8 x 3 1/8 and 1 1/2 x 2 1/2.
-
3 layers of Wild Wasabi are cut at 5 3/8 x 4 1/8, 4 1/2 x 3 1/4 and 2 5/8 x 1 5/8.
“>
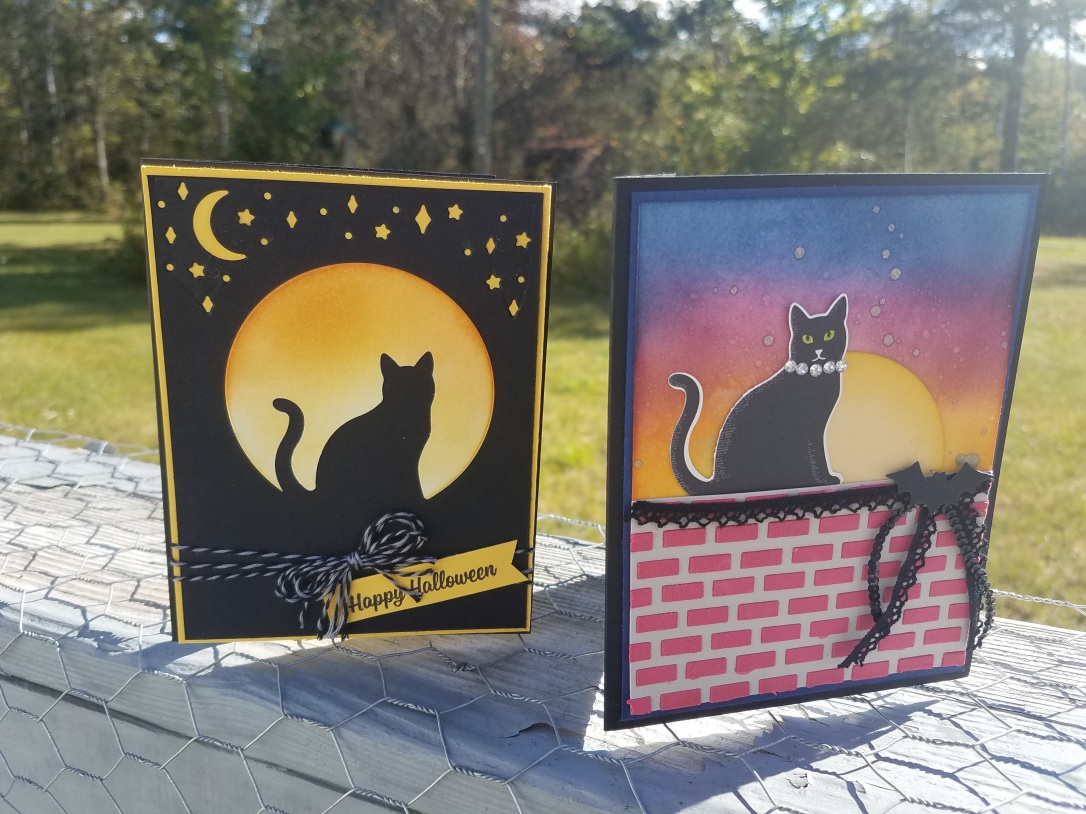
For my second card I chose to do this nice and sparkly Christmas Card using the Hearts Come Home Bundle.


 Burlap Ribbon")

The ingredients for this card are as follows:
-
Card base is Whisper White cut at 8 1/2 x 5 1/2, scored at 4 1/4.
-
Night of Navy card stock cut at 5 1/4 x 4
-
Smokey Slate card stock cut at 5 1/4 x 2 1/2
-
Dazzling Diamonds Glimmer Paper cut at 5 1/4 x/4
-
2″ circle cut from Whisper White card stock
-
Scrap piece of Real Red card stock
-
20″ Night of Navy crinkle ribbon
“>
Check in with the rest of the Glitter Queen’s to see their amazing creations!
Thanks-a-latte and Happy Stamping
Dawn Griffith –
Dee Slater
Tracy Bradley
Michelle Veller
Debi Galloway
Kathie Steffke